How to become a stronger rower: Part 3. Increasing your hip drive. The third part of our series about how you can become a stronger rower!
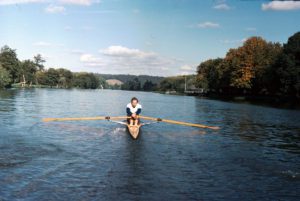
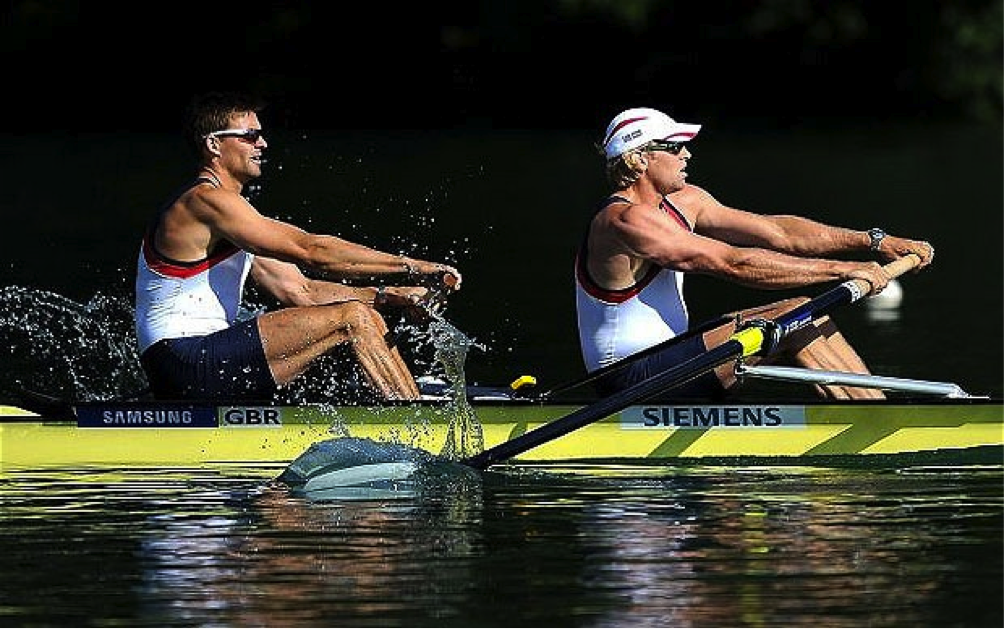 Photo from Getty Images
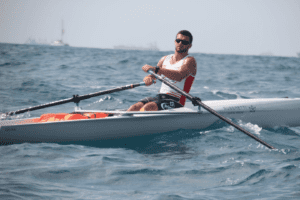
Moving on to more practical level of your strength training
The first two posts have been rather theoretically focused, but now I am going to go on a more practical level addressing two of the most common weak areas I have witnessed in rowers of all levels of experiences, but particularly in beginner rowers. Correcting these weaknesses will hugely improve the power you are able to produce, and will lead to gains in boat speed, which is after all what it is all about. In addition to that, addressing these weaknesses will help you stay injury free.
Two weaknesses / the main culprits for rowers
With appropriate drumroll it is time to reveal the two main culprits inhibiting power production for rowers: hip strength and core strength. Both of these weaknesses are very prevalent amongst the population at large. Treating these effectively will require both strength work, and work on mobility and flexibility. I will focus more on fixing the strength aspect, but will also offer some advice on the conditioning side. This post will deal with hip strength, core strength will be covered next week.
Hip strength is vital in almost all sports requiring significant power production from sprinting, weightlifting, jumping and throwing to rowing. Yet, our lifestyle (sitting down for extended periods) tends to encourage movement patterns and muscle activation, which emphasize quadriceps femoris (knee extensors) in favour of the hip extensors (gluteus maximus, biceps femoris, semitendinosus, semimembranosus, and others). This coupled with often overtight hip flexors (rectus femoris, iliopsoas) leads to what is often referred to as ‘quad-dominant’ people. However, I prefer the term ‘glute and hamstring weak’, which more correctly addresses the problem. Our quadriceps aren’t too strong, instead our glutes and hamstrings are weak. So I am not saying that we should ignore our quadriceps or that they aren’t important in rowing.
I bet most of you have heard about accelerating towards the finish, or about back swing in rowing. Killing your quads at the beginning of the stroke is of no use if you aren’t able to carry, and even increase, the speed produced through them towards the end of the drive. This is where hip extensors step in, they should produce the peak at the middle of the force curve.
What are then the steps to get those dormant hip extensors into action, producing boat speed? My first wish is that everyone in the rowing world (coaches and athletes alike) would stop using the mantra ‘legs, back, arms’ as it gives a false idea about what is happening in terms of muscle activation. Understanding, which muscles you should use is the first step into actually using them. I much prefer the ‘quads, hips, back’ advice, as it guides athletes into using the right (by which I mean the biggest and strongest) muscles at the right step. Quadriceps at the beginning of the drive, hips at the middle, upper back at the end. The mind-muscle connection isn’t a myth, after all we are supposed to be able to direct our muscles through conscious control.
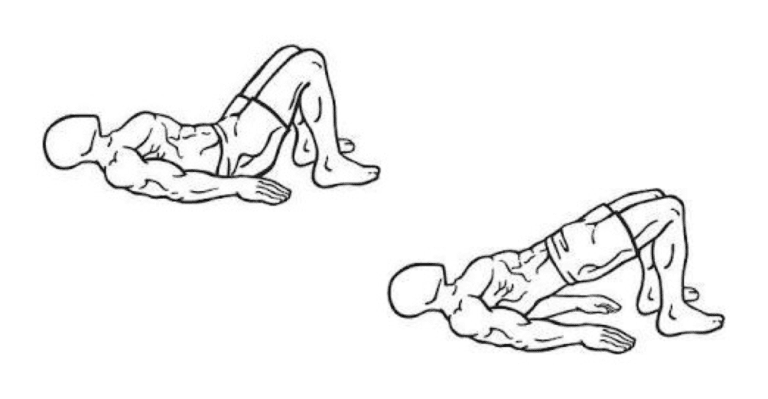
The Glute Bridge
However, for many athletes this isn’t enough. Their hip extensors have been dormant for so long that they have simply no idea how to activate them. After understanding which muscles to use, the next step is in learning to activate them. For this step, very simple exercises will get you going starting with the glute bridge.
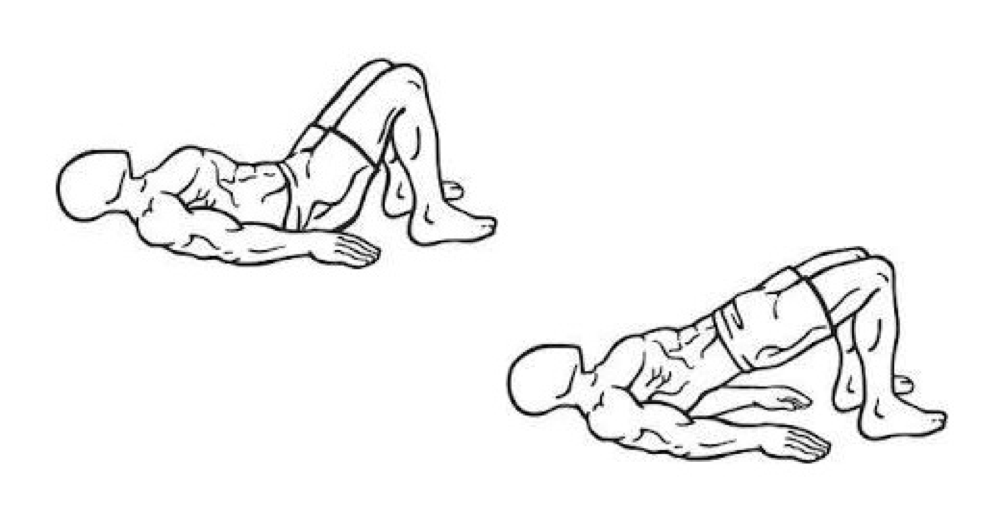
(Photo from https://johnheltzen.files.wordpress.com/2012/08/glute-bridge.jpg
To perform this exercise lie on your back with a natural curve in your lower back where you’re just able to slip your fingers between the floor and your lower back, and your feet flexed as in the picture above. From here tighten your abdominals so that your lower back gets in touch with the floor. Now press through your heels to lift your bum off the floor, forcibly squeezing your glutes. I recommend slight over-extension at the top really pushing your hips as high as possible. All-in-all, a very simple exercise to perform, but a couple of points should be made. First, perform the exercise either without shoes or with flat shoes. Most shoes have slightly raised heels, which encourage quad-activation instead of glute-activation. Second, concentrate on feeling the activation in your glutes, not your hamstrings, lower back, quadriceps or calves. A simple trick to help in this is to poke your glutes with your fingers throughout the exercise or to hold your hands on your glutes. Third, lifting your toes off the ground might help you in finding the correct way to activate glutes. Glute activation is easily encouraged through pressing through your heels. Fourth, hold the position at the top for a second or two while focusing on squeezing the hell out of your glutes. Finally, I don’t advice any particular leg position, as it is up to each individual to find out where they can activate their glutes most effectively. Generally, bringing your heels too close to your bum might shift the emphasis on your quadriceps, whereas heels too far might shift it towards your hamstrings. To sum it up, if you feel your glutes firing, you’re doing it correctly.
I recommend this exercise as an activation drill done always before going in the boat, stepping on the erg or starting to lift weights. The cue to activating dormant muscles is doing it every time before you embark on an activity where those muscles are needed. As an activation exercise, there is no need for huge progression in the exercise. Starting from the basics is the best way to go, if you do a variation too difficult for you chances are that some other muscles end up performing the majority of the work, and the whole point of the exercise is lost. However, as you become more familiar with your glutes, you might want to add a bit of challenge. The first is to lift one leg off the floor whilst holding the position at the top. The second is to perform the whole movement with a single leg. Always start with both legs, and gradually move through the steps. In total 10 to 20 repetitions per leg is enough to get you ready for your session. What I normally do looks something like this: 5 reps with both legs, 5 reps per leg lifting one leg off the floor at the top, 5 reps per leg with a single leg. Takes only a minute or two, and instantly allows you to get more from the mid-drive.
Strengthening by Weight-training – The Big brother of Glute Bridge
After understanding and activation, it is time to move to strengthening. I believe that this is best done through weight-training. The common idea of strength training for hip extensors revolves somewhere around deadlifts, squats and cleans. These exercises indeed do require hip extension, and thus strengthen the glutes. These lifts are prevalent amongst rowers, and rightly so. However, for someone with trouble activating their glutes these exercises end up stressing the wrong muscles, the correct execution of these lifts is near impossible, and injury risks are considerable. People with weak glutes end up compensating with their lower backs (much like in rowing). A better way to begin training hip strength is the big brother of glute bridge: the hip thrust.
This exercise is much like the glute bridge and most of the advice is the same. The obvious differences being that a barbell is used to add challenge to the exercise, and that the back is supported against a bench instead of the ground to allow greater range of movement. I won’t repeat the advice already given just apply the idea of the glute bridge to this movement. Some things, should be said though. First, start relatively light with the weight, body weight or just the barbell. Keep on progressively adding weight until you find a weight where you cannot properly hold the lift at the top for a couple of seconds with hips in full extension ,which means a slight overextension (ie. your body parallel to the ground with your pelvis a centimeter or two higher than your shoulders). Take 5 to 10kg off this weight or somewhere in the region where you are able to perform 10 repetitions with correct form. Be honest with yourself, it is easy to load masses of weight on this exercise and end up using your entire body to lift the weight instead of your glutes. Ultimately your aim should be to lift a good deal of weight, but to reap the benefits check your ego and start low. Second, make sure that the bench or whatever you are supporting your shoulders against is firmly supported against something to prevent it from moving. It shouldn’t move if you’re performing the exercise correctly (if it moves you’re pushing backwards instead of upwards), but it never harms to be safe. Third, supporting your back against the bench can be tricky. I recommend propping your back against the bench on a level where the bench is just below your armpits. Finally, push through your heels, squeeze your glutes and hold at the top.
I usually programme hip thrust for strength and development of neural activation of muscle. Therefore, I prefer using somewhere in the region of 3 to 6 repetitions per set and 3 to 5 sets. 3 sets of 5 is a good way to start. The low number of repetitions allows for each repetition to be performed correctly. Once you’ve mastered the movement you can use longer sets (8 to 12 reps) for muscle growth and really feeling the burn in the glutes. This can also be achieved through longer holds at the top, a good way to finish the exercise is to slowly count down from 10 whilst holding the weight at the top. With strength as the main goal (as it should be for rowing), keep the repetitions low and add weight.
Want more glutes training?
For further ideas about training your glutes google Bret Contreras, his research on the topic is invaluable. Once you’ve mastered the hip thrust, I recommend going to the big lifts: deadlift and squat. I won’t go into detail about them in this post, as I feel I’m already straining your attention span.
Don´t forget to implementing your new knowledge and training in the boat
With that said, I have a couple more things to add, but I’ll be brief and to the point. First, the point of this article was to give advice on how to become a stronger rower. After understanding, activating and strengthening it is time to go back into implementing your newly found hip drive into rowing. Whether on the boat or on an erg you should make it your priority to crush the footplate at the middle of the drive. In doing so, be sure to push through your heels and swing through your hips. Activating and strengthening revolved around pushing through your heels and so should it in rowing.
Second, it is impossible to implement full hip strength with a rounded lower back. Stay upright in the boat, rock over from the hips on the recovery, and reverse this movement on the drive. I leave further advice about rowing technique to others. Achieving good hip and back position requires flexibility from your hamstrings and your hip flexors. I recommend stretching these muscles daily. Short dynamic stretches during the warm-up. Longer static stretches performed on their own (with at least a couple of hours after your last proper session). Increasing flexibility requires about 2 to 5 minutes of stretching the muscle per day so not much, especially as I am prescribing only 2 stretches. So for both legs this takes only 20 minutes per day. Easy to achieve in the evening when watching TV or just relaxing, no excuses. Hamstring inflexibility leads to compensating with your lower back thus exposing you to lower back injuries in addition to inhibiting your hip drive and ultimately boat speed. I recommend stretching whilst lying on your back (to make sure your back stays straight). Through a towel or a rubber band around your foot and raise your leg upright until you feel a nice stretch. Don’t stretch to pain! The second stretch should concentrate on your rectus femoris and iliopsoas (hip flexors). For this assume a half kneeling position with your rear foot supported against a bench or something similar (your hand will do). From this position push your hips forward until you feel a stretch ranging from your quadriceps to your pelvis.
A guest post by Elias Lehtonen