Grip is the way we hold the handles of the oar as we row.
The oar is the lever we use to move the boat; the grip connects us to the oar and thus to the water. The better our grip, the better our control of the oar and the better we transfer our power.
- Ever played tennis? golf? hockey? Imagine holding the stick of your choice.
- What happens to your control when you hold the handle away from the end? And how much power do you have when you only use one hand? How smooth is your action when your grip is too tight?
Just as your ball was sliced or hooked or merely dribbled when you wanted it to fly so to is it with rowing or sculling and a poor grip. We miss our connection with the water, send the boat and blades in the wrong direction and change the way our bodies move.
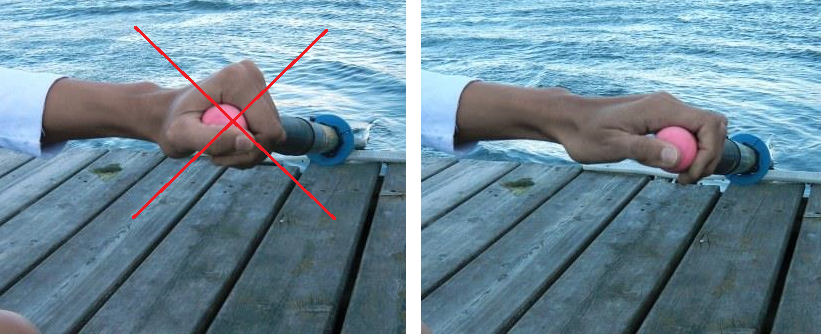

Benefits of a Good Grip
When an athlete learns to grip the oar / scull well then he/she is able to manipulate and control the oar properly. The catch can become better because the hands are in good control of the blade and can now time the entry correctly. The finish can be more efficient because the pressure can be kept on for longer and be more cleanly released.
A blade with a clean finish can impart more acceleration to the boat and the balance is liable to be better because the hull is not disturbed by the extraction.
After time spent improving the grip you can expect the blade work in general to be tidier and more effective and it is often a good idea to move on from a grip focus to one on the turning points of the stroke (catch, finish).
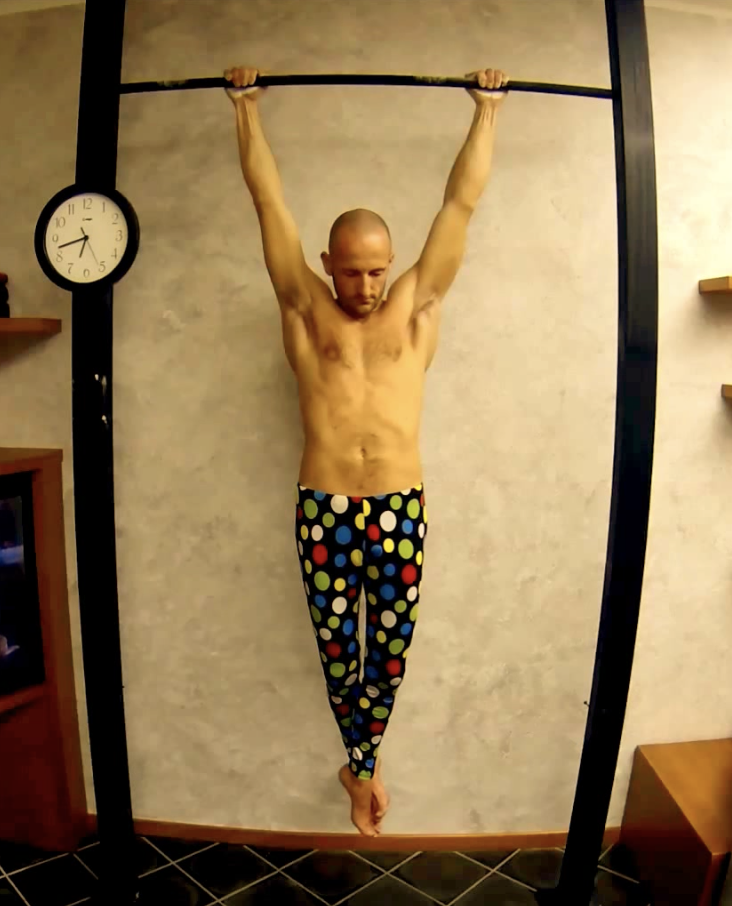

- Try hanging off a chin-up bar with both hands – not just for a second or two but for as long as you can.
- What do you notice about your grip? Where is your thumb? What about the palms of your hands – are they touching the bar? What shape is your wrist? Where do you feel the pressure on your fingers?
Perils of a Bad Grip
A bad grip imposes costs on the athlete. A too-loose or too-tight grip reduces the maximum power that can be transferred from the legs, body and arms through the hands to the handle.
Bent wrists, hands slipping off the handle at catch or finish (especially outside hands) also diminish the power transferred.
Bad grip also exposes rowers to higher risks of injury. The various forms of overuse injury in the wrist, tenosynovitis and others are often caused by grip and feathering technique that requires an exaggerated movement to rotate the oar.
- Try hanging off your chin up bar again. This time squeeze the bar as tightly as you can.
- What happens?
- And again. This time bend your wrists.
- What happens now?
The Rowing Grip in the Drive Phase
During the drive we hang off the handle as we would hang off a chin-up bar.
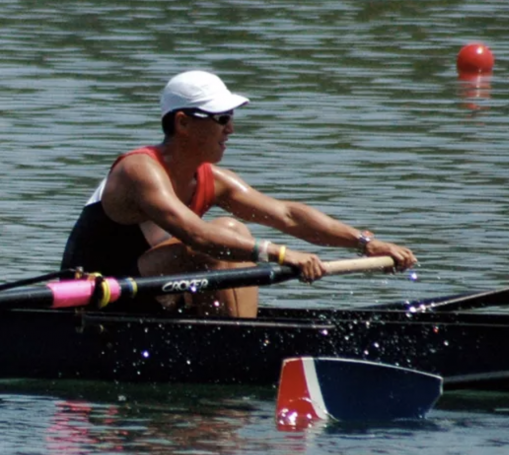

Note the similarities to a rowing grip.
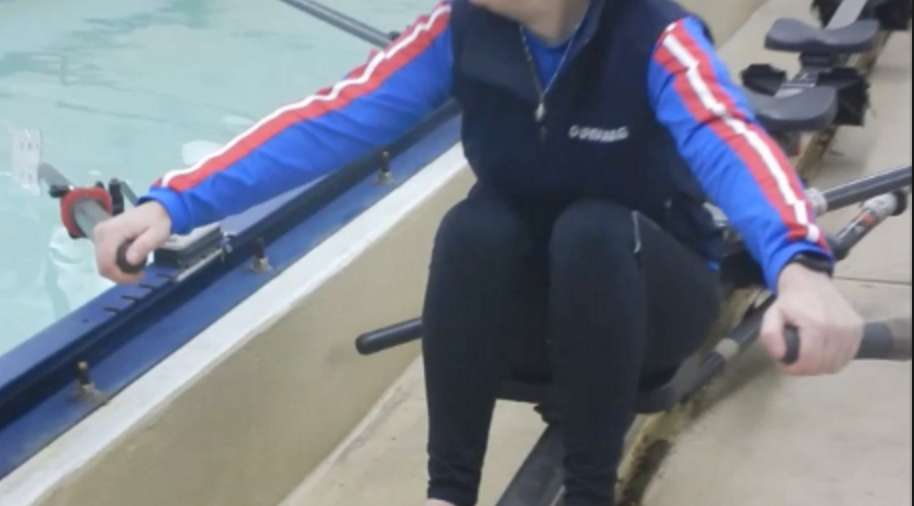
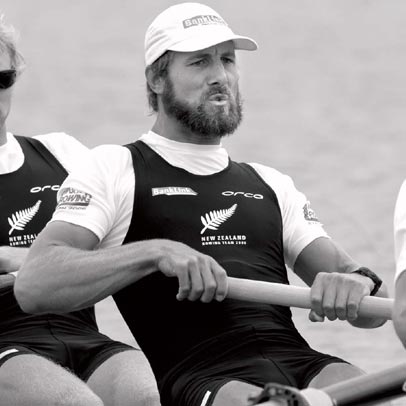
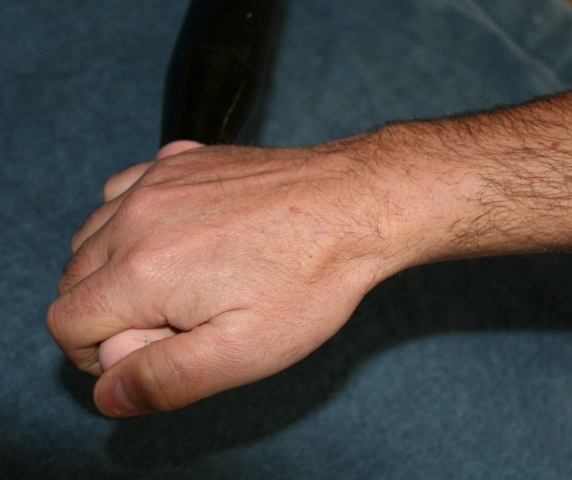
The handle is loosely held with the fingers wrapped around so that the second knuckles are in front. The thumbs are underneath and the handle is held so that there is space between the webbing of the thumb and the handle. Both wrists are flat.
In rowing the outside hand has a static grip. The wrist stays flat, the fingers stay still. In effect the grip is a hook, and the handle is free to rotate in this hook when the blade is free of the water and there is no pressure being applied. Hand separation is to some extent personal and what is comfortable.
- Stand up and make sure you’ve got some room in front and behind you. Now swing your arms, hold them straight and swing them up to your shoulder height in front of you and as high as you can behind you. Swing backwards and forwards in a big arc. Starting to relax? Hands feeling nice and loose? Stop the next swing with your hands straight in front of you – how far apart are your hands?
Or if you are more of a left-brain sort of person:
- Open your thumbs out between your hands and where they just touch is where you should place your hands.
Pre-requisites for a Good Grip
Before an athlete can get a good grip these things must be in order:
1. Rigging. The span and inboard, through the work, and height must put the handle in a comfortable place for the rower or sculler.
- Sit yourself or your rower at the finish, blade square and buried. The outside wrist should be just outside of and alongside the first rib.
If the rig is too high or too low you’ll have trouble keeping the wrists flat.
A sculler should have the hands at a similar height and at least a hands width between them at the finish.
2. Handle size and material and condition. The handle must be appropriate for the athlete. Consider the diameter of the handle and the grip size.
- When did you last clean your oar handles with detergent?
A brief description of the sculling grip
During the drive we hang off the handles in much the same way as we would hang from a chin-up bar. The only difference is that in sculling our hands are on the end of the handle.
The handle is loosely held with the fingers wrapped around so that the second knuckles are in front. In the drive the wrists are flat.
In sculling each hand has to control both the height and the rotation of the respective blade.
The action is similar to that of the inside hand in rowing. At the finish the handle is tapped down with the wrists flat and then the wrist may flex slightly and the fingers are uncurled so the blade rotates to the horizontal.
- Use a sculling rubber grip, a screwdriver handle, a broom handle, a little vegemite (marmite) jar – anything with the diameter of a sculling handle to practise the sculling grip, and feather.
- You can do it anytime, even while watching TV.
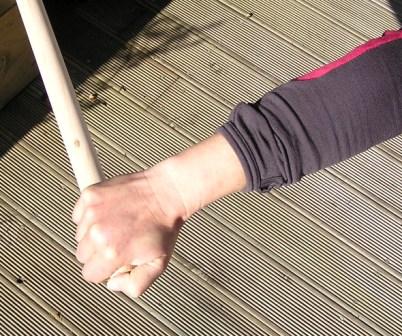

One of the key skills in sculling is the cross-over of the hands. The near universal convention in sculling is that the right hand is the bottom hand. In the drive phase the right hand is below the left, and leads the left hand towards the body. The lead should be such that the top knuckles of the bottom hand are on the heel of the upper hand
.

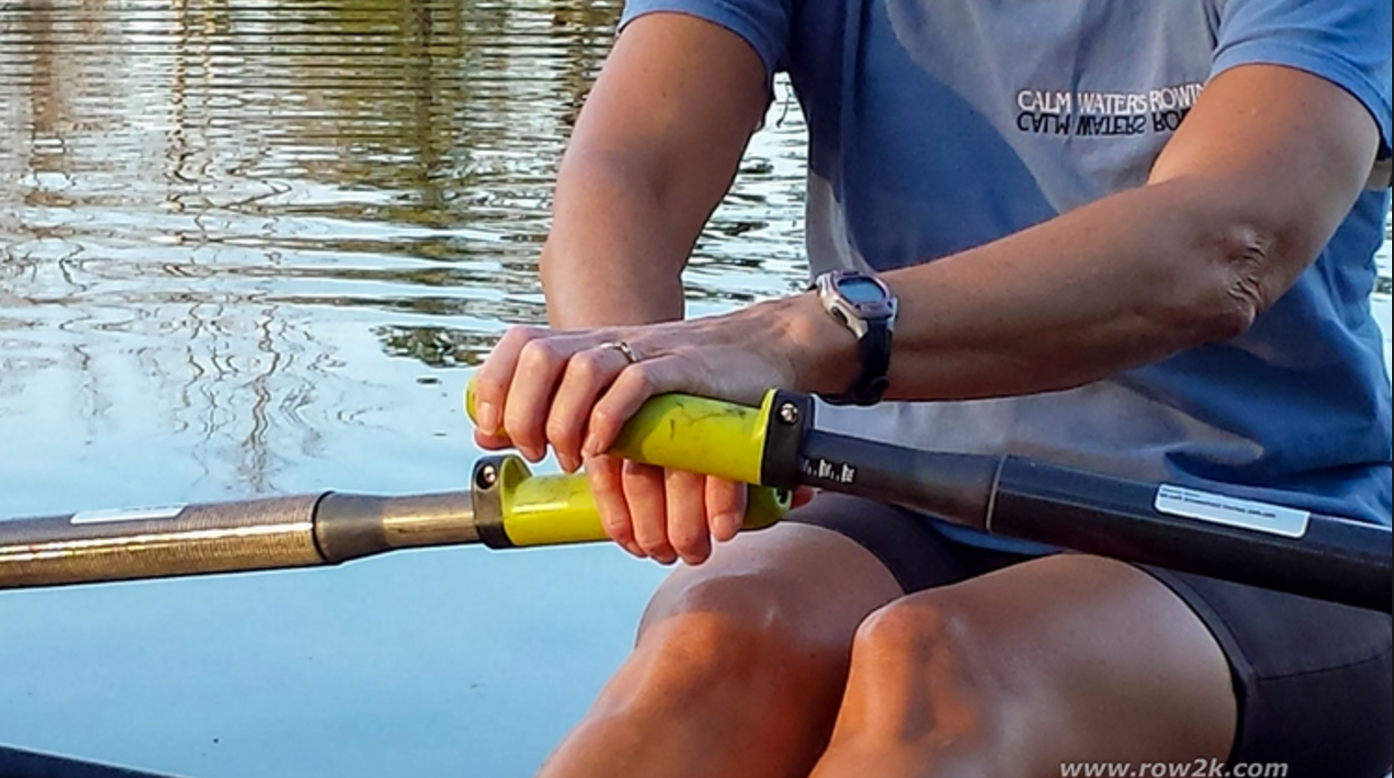

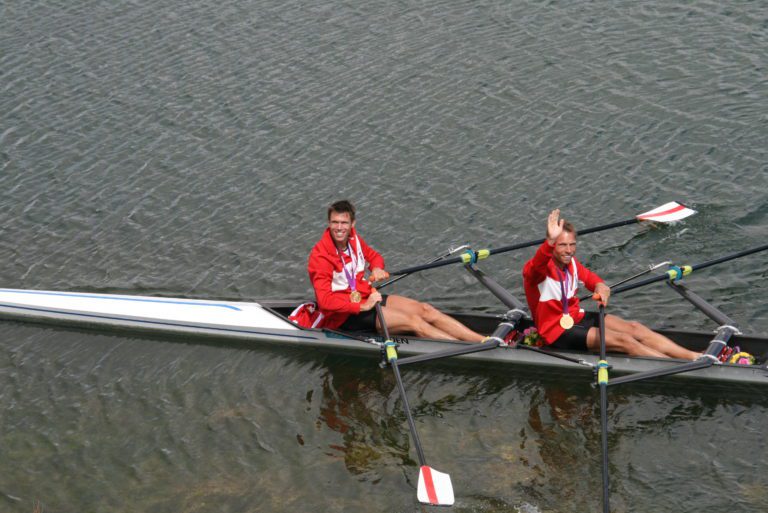
In the recovery phase the top hand, (the left hand) leads out and the bottom hand (the right hand) follows. When this is done correctly, and combined with a good feathering action, the handles can be kept close together and the wrists remain straight.
One lovely phrase to describe the sculling grip is “Hold the scull as you would a little bird, tight enough to stop it escaping but loose enough to avoid hurting it.” I first heard this used by Tony O’Connor of Ireland and Christ’s College, New Zealand and I believe it came from Adrian Henning.




This Post Has 2 Comments
The only times in a stroke that we need to strongly ‘Grip’ the blade are at the catch and release. This is because we are rotating the blade between square and feather, and need to seriously control the movement. During the drive and release the angle of the blade is controlled by the mated flats at the gate, so we can RELAX THE GRIP. The ‘pull’ being done by the 2 end finger joints.
You could ask why this pull on the top of the handle doesn’t spin the blade. The reason is that with modern blades there is more spoon area under the shaft. This would tend to spin the blade the other way in the pull. The two forces cancel, and the blade doesn’t spin. No ‘grip’ necessary. ‘Pull’ only.
I recommend a sculling handle diameter of near 33mm, including a rubbery grip.
Sweat can affect your grip on the handle. I make towelling tubes- using old towels – about 140mm long, 40mm diameter and closed at one end. These are wetted with fresh water before being pulled over the handles before each outing. It is not necessary to tie them on.
These gloves absorb sweat, and also give your hands a good ‘feel’ of the blade.
Only ‘GRIP” the blade when you actually need to.
Have fun!
Good idea for hands that sweat. I found that rowing gloves also help with grip in this case.