We have just formed a mixed quad crew and want some advice on how to align our power and get the crew going well together.
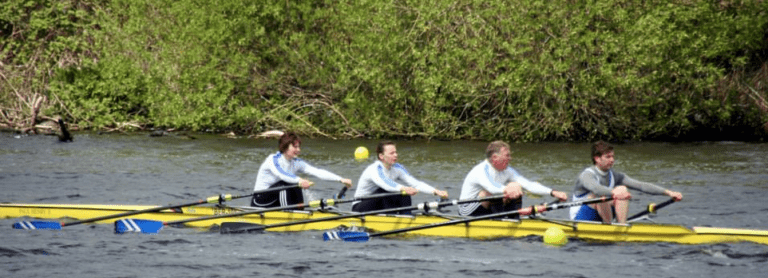
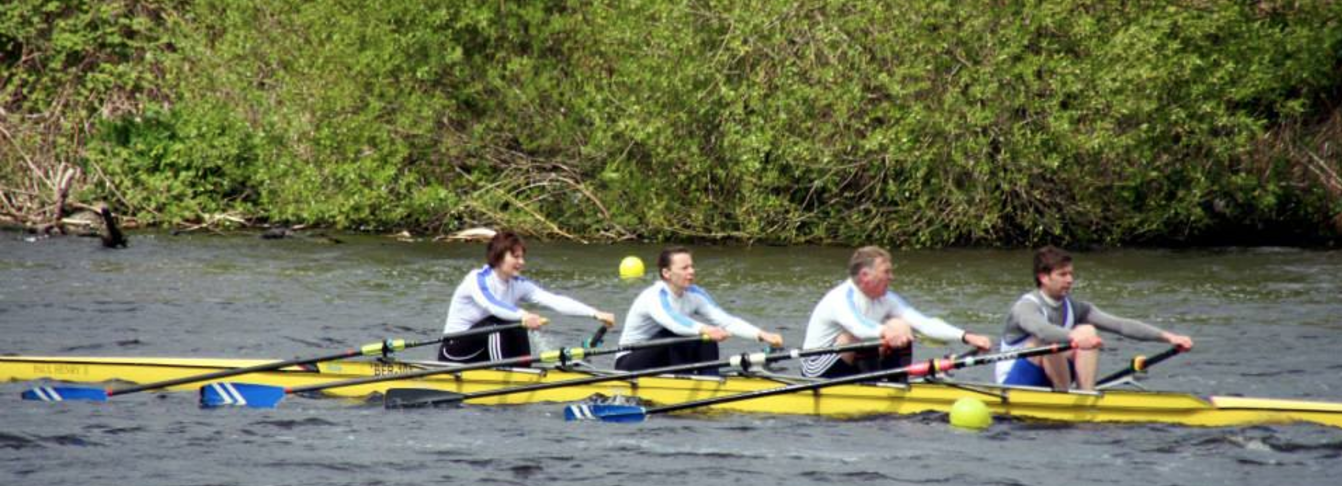 Credit: Berwick Amateur Rowing Club mixed quad
The challenge for mixed crews is that men are usually stronger than women. My view is to get the women to row up to the power level of men rather than a meet-in-the-middle compromise.
Where you will notice this difference is in the power phase of the rowing or sculling stroke. Men will get the oar from placement in the water through to extraction at the end faster than women can. What happens as a result is that women feel their power is “taken away” from them during the stroke – your oar may feel like it’s not gripping the water. This can resemble rowing in a strong tailwind.
How to row like a man
So the first part is for women to apply their leg drive more aggressively during the power phase – try to attack the first half of the drive with a confident press on the legs – much more than usual.
What men will feel is a bigger load on their legs (like doing weights in the boat) and what women feel is that the boat seems to move without them making much effort (much like being in a tailwind). I call this taking the power away from you… when the power seems to have already started and your push on the legs feels light rather than engaged and strong / powerful.
You will know you are being successful when the feeling of power “taken away” at the catch begins to recede and you feel that your work is adding to the boat speed.
Men, do not be tempted to cut your stroke short or less powerful. Try to row normal length.
Rigging for mixed crews
Depending on the relative height and strength of the crew, you may need to make some rig adjustments – shorter outboard on the oars for the women will lighten their gearing. I recommend keeping the same inboard for the whole crew so you don’t have to adjust the pins on the riggers.
If you can adjust your foot stretchers so the blades are parallel at the catch and finish, that’s ideal. If not – you will need to make compromises. I prefer to get parallel at the catch and compromise at the finish – but that’s my choice. You can do either. My logic is that mixed crews can be fast and bigger faster boats are more catch-oriented in terms of power application.
Drills for aligning crew power
My first recommendation is to do the Quarter Slide Push drill – this is short slide work built up from the catch working down the slide.
Start by doing it in pairs rowing firm pressure and square blade. If you can’t do firm, do half pressure and do the drill twice – the second time increase to firm pressure. This drill is done with square blades.
- At the catch start by dipping the oars in and out of the water – no slide, just align your catch timing with two of you rowing. Move your arms not your legs to place the oars under the water.
- Move to one centimetre on the slide. This helps you work on quickly adding power to the blade placement. Check that you return to full compression at the front stops position every stroke. Move your legs (from below the knee) to make the slide not your back.
- Move to one quarter slide (measured from the full compression back as the quarter)
- Half slide
- Three quarters slide
- Legs only rowing – note that no back swing has been added at all thus far. Check your shoulders are forward of your hips. This is an exaggeration as you may not row like this normally – but for the sake of the drill, don’t swing your shoulders. Get those leg drives aligned in power delivery.
- Add the back swing – row with arms straight
- Add half an arm draw – use this to time the addition of arm power and blend it with the back swing. It should add about 5% to the boat speed if you have a GPS meter to check speed.
- Full normal sculling square blades – check that your leg drive precedes the back swing. The pair not rowing should be able to check your oar parallels at the catch and finish to see if you are aligned.
- Feathered blades and 10 firm to embed the drill into ‘normal’ rowing.
- Then you can join in the third crew member and later the 4th so they ‘take up’ the pattern of rowing with the pair who did the exercise. Feel for how they apply their power and take 3 strokes to blend yourself into their pattern by gradually increasing your power. For the first couple of strokes just move with the pair and feel how they are delivering the power so you don’t disrupt their pattern by introducing a different power phase.
- Stop. Re-do the drill with the other pair….
- When you get skilful enough, do the drill feathered blades all four
- And with more skill you can do it square blades all four
When doing the drill feathered blades (all four) beware a late square because you will miss the catch timing and that defeats the object of the exercise which is to get the blade placement timing and the leg power aligned at the catch. So square early or learn to do it square blades.
Related Article – Aligning Force Curves for Junior 2x on RP3 this follows on from the on-water work described above. It can help each athlete identify how their power builds up (legs, back, arms) and help the crew to get more synchronised by following a graphical force curve in real time. Do this alongside the in-boat drills and you’ll be unstoppable!
Now for the video
This Crew is doing 6 drill and two sitting the boat.
A couple of points to note. When using video to teach drills, I prefer to show ‘perfect’ technique. However, this video is helpful because not every athlete does the drill correctly so you can see what NOT to do.
- Dipping the oars (timestamp 0:23 – 0.32) See the bow man is using his full arm to place the oar. This is correct. The other 5 are just using their forearms from elbow to wrist – this is wrong because you end up with a bent arm at the catch and that is not a strong position.
- First 6 inches (they do the drill rather differently than I described above) (timestamp 0.35) look at 3 and 4 seats. The 3 man is timing the blade entry into the water before he pushes with his legs. The 4 man is not – his oar goes in as his legs drive. This is incorrect. He gets a bit better at it later on but you can see the oar is not fully buried before he drives the legs.
- Handle grip (timestamp 1:30) look at the 5 man – the video comes close into his hands on the handle. You can see his outside (right) hand is very loose on the handle with the thumb drooping below the handle. This indicates that he is using his inside hand to control the oar. This is wrong. It makes your likelihood of achieving a fast catch placement very low – the inside hand cannot do this as skilfully as the outside hand. Until he grips fully and uses the outside hand he’s not going to get the full benefit of this drill. If I were coaching him, I’d ask him to loosen his inside hand grip and to wrap his outside hand thumb fully around the oar handle. Another way to teach this correct grip is to do the drill with a wide grip on the handle (inside hand down the loom on the first fat part of the carbon shaft) – this way the inside hand is closer to the pivot at the gate and has even less control.
- Placement must precede leg drive – from Timestamp 2:58 onwards look at the 6 man – his handle moves upwards in an active motion to place the catch and this anticipates the start of his leg drive. By contrast, the 5 man tries to do the two movements at the same time and ends up with a slower placement and missing water at the catch.
- from 4:24 onwards watch their knees – look at them rising up to the catch and then pressing straight through the power phase. You will see the 3 man is much slower to start his leg drive and as a consequence has a less dynamic stroke than the rest. So despite him being the ‘good’ rower in point 2 above, his leg drive doesn’t follow on from the blade placement.
Go forth and practice some drills – let us know how you get on.